Latest Post :

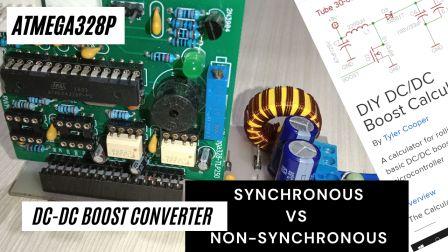
DC-DC Boost Converter Synchronous and Non-Synchronous
Read more: DC-DC Boost Converter Synchronous and Non-Synchronous▶️ Watch on YouTube … This post is about the evaluation of the DC-DC Boost Converter in Synchronous and Non-Synchronous by utilizing the same hardware…
Category :
- Inverter (15)
- Microcontroller (3)
- Power Electronics (6)
- Troubleshooting (1)
Popular Post :

3-Phase Inverter using ESP32 SPWM Generator
Read more: 3-Phase Inverter using ESP32 SPWM Generator▶️ Watch on YouTube Introduction In this project, my goal is to design a three-phase SPWM generator using an ESP32 MCPWM peripheral. I aim to…

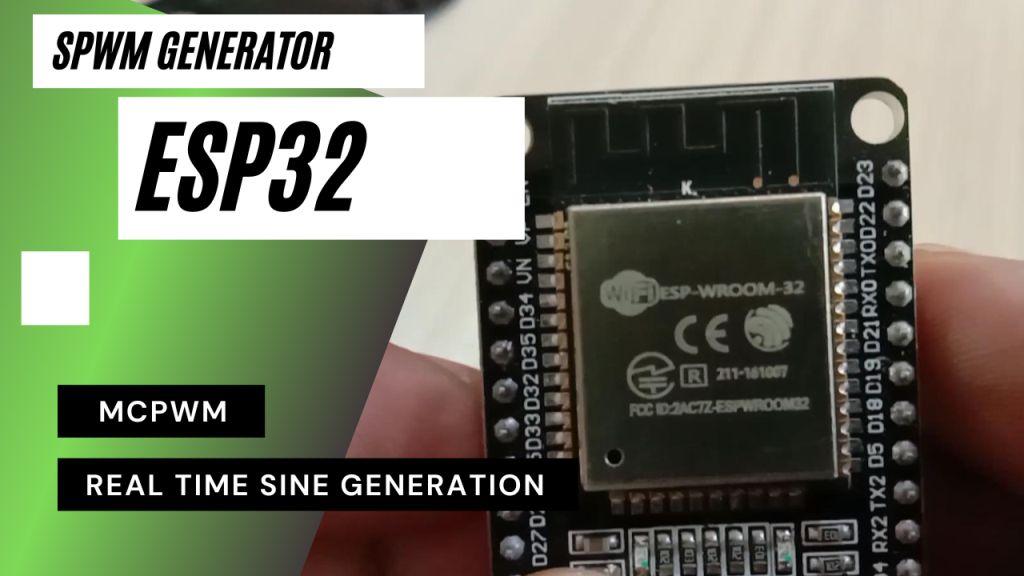
ESP32 MCPWM as SPWM generator
Read more: ESP32 MCPWM as SPWM generator▶️ Watch on YouTube … In this project, I am trying to make a Sinusoidal Pulse Width Modulation using the ESP32 microcontroller and MCPWM. The…
EGS002: Simple Pure Sine Wave Inverter
Read more: EGS002: Simple Pure Sine Wave Inverter▶️ Watch on YouTube … Making a pure sine wave inverter is very easy using the EGS002, especially for low-frequency transformer-type inverters.All we need are…
Project Post
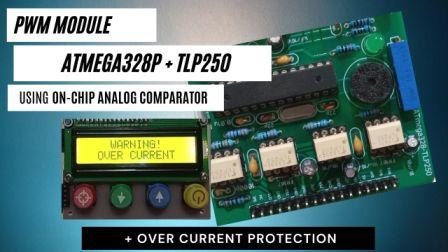
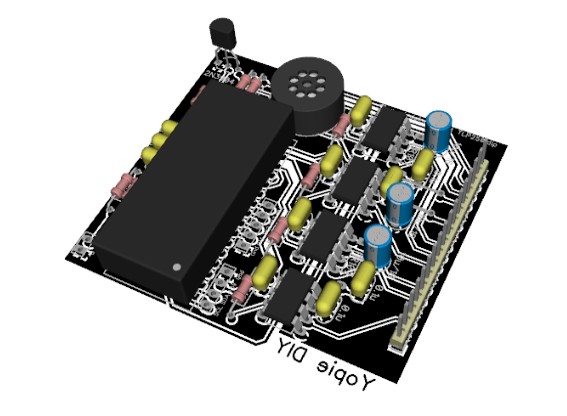
 Read more: TLP250 for Arduino Nano SPWM Generator
In this project, I will build an Arduino Nano SPWM (sinusoidal pulse width modulation) generator using a TLP250 MOSFET driver. Introduction The TLP250 is a high-speed, low-power MOSFET driver with a single output and a wide voltage range. Then making it suitable for a variety of applications including SPWM generation. Now I will try to…
- Read more: On-Chip Analog Comparator
▶️ Watch on YouTube … Continuing from my previous post, I will now present the second experiment which is a Zero Crossing Detector using the On-Chip Analog Comparator in ATmega328. What is On-Chip Analog Comparator The On-Chip Analog Comparator is a device that compares two analog input signals and determines which is greater. The output…
 Read more: Arduino Nano SPWM gen: Add Parameters Setting Buttons
▶️ Watch on YouTube … Intro Sometimes we need to change the Inverter parameters, and we do that by changing the values by editing the code. By adding buttons we can make parameter changes easily, there is no need to change coding and upload to Arduino.Just add four buttons and use the internal EEPROM on…
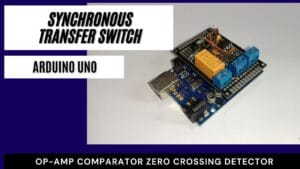
- Read more: Synchronous Transfer Switch
▶️ Watch on YouTube … The Synchronous Transfer Switch in this project is for moving connections from one source to another. In contrast to ordinary switches, this device will switch the connection only when the phase angle of the two sources is the same. When we move the connection that is done manually then this…
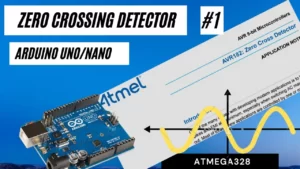
- Read more: Zero Crossing Detector Arduino Uno.
▶️ Watch on YouTube … I use this method from the ATmega328p application notes to make Zero Crossing Detector. Please check the following link for more details: https://www.microchip.com/en-us/application-notes/an2508 Simplest Zero Crossing DetectorCircuit The circuit uses two 1Mohm resistors to limit the current to less than 1mA at the microcontroller input port. Then connect directly to…
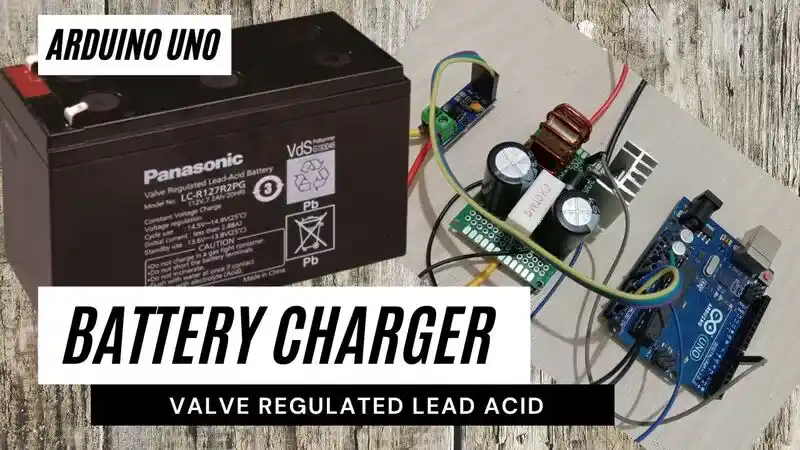
 Read more: Battery Charger using Arduino Uno
▶️ Watch on YouTube … This post is about designing a battery charger using Arduino Uno as a continuation of the DC boost converter project. I made some small additions to hardware and software which I will discuss here. I have a 12V/7.2AH VRLA battery so my project aims to make a charger for it.…
YopieDIY
Power Electronics & Embedded Systems Projects
Real-life projects I build in my spare time with affordable parts.
Full write-ups + YouTube videos for most project.
“Learn more about Yopiemaker’s mission”.
“Engineering Creativity Through Electronics” Welcome to Yopiemaker, a personal blog dedicated to the world of DIY electronics, IoT systems, and RF engineering. I am a professional RF/Microwave engineer sharing my passion for building, coding, and designing hardware.
What You’ll Find Here @ Yopiemaker Projects
In this blog, I document my journey in creating various tech projects. Whether you are a beginner looking for your first Arduino tutorial or an experienced maker searching for complex ESP32 IoT solutions, you will find something useful here. My goal is to provide high-quality, open-source resources for the community.
Featured Categories
- IoT & Wireless: Smart home systems and cloud-connected devices.
- Circuit Design: Professional PCB layouts and schematics.
- 3D Printing: Custom enclosures and mechanical parts for electronics.
Yopiemaker Projects: Support the Journey
Most project comes with downloadable resources. If you are looking for specific files, please visit myResources Center. Don’t forget to check out my latest posts below!