Latest Post :

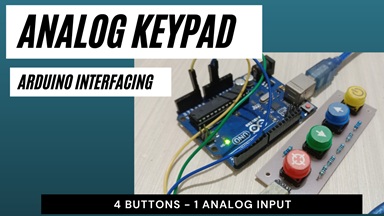
Analog Keypad: Efficient Input Solution for Arduino
Read more: Analog Keypad: Efficient Input Solution for Arduino▶️ Watch on YouTube … Introduction An Analog keypad is a type of keypad or button board connected to an analog input on an Arduino…
Category :
- Inverter (15)
- Microcontroller (3)
- Power Electronics (6)
- Troubleshooting (1)
Popular Post :

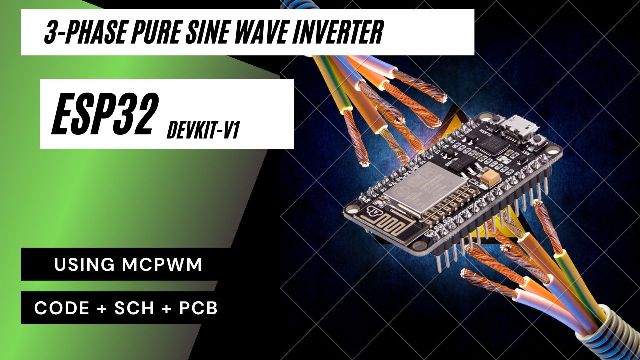
3-Phase Inverter using ESP32 SPWM Generator
Read more: 3-Phase Inverter using ESP32 SPWM Generator▶️ Watch on YouTube Introduction In this project, my goal is to design a three-phase SPWM generator using an ESP32 MCPWM peripheral. I aim to…

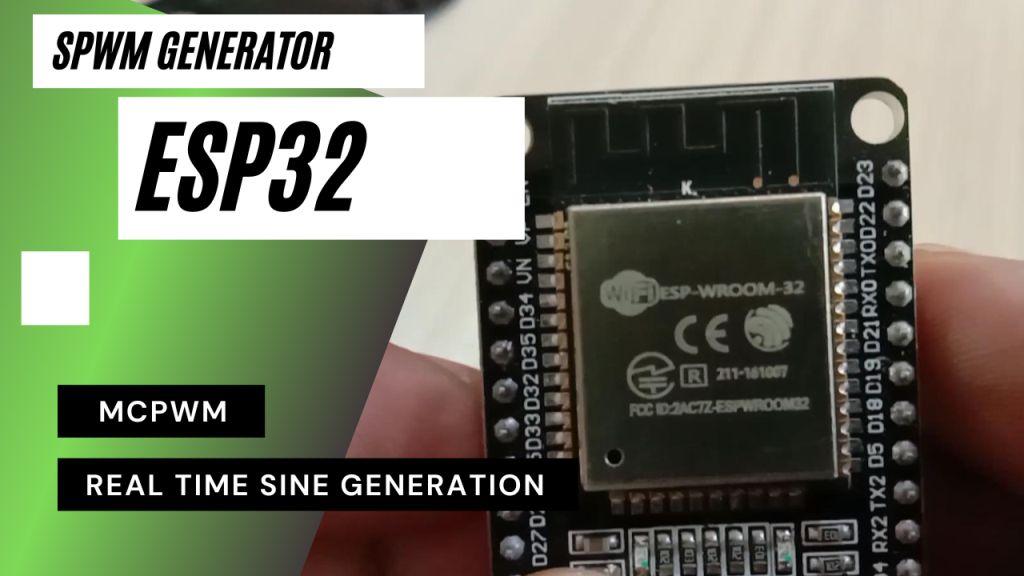
ESP32 MCPWM as SPWM generator
Read more: ESP32 MCPWM as SPWM generator▶️ Watch on YouTube … In this project, I am trying to make a Sinusoidal Pulse Width Modulation using the ESP32 microcontroller and MCPWM. The…

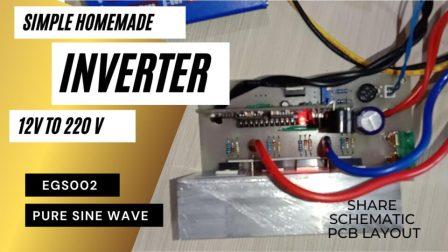
EGS002: Simple Pure Sine Wave Inverter
Read more: EGS002: Simple Pure Sine Wave Inverter▶️ Watch on YouTube … Making a pure sine wave inverter is very easy using the EGS002, especially for low-frequency transformer-type inverters.All we need are…
Project Post
 Read more: Boost Converter using Arduino Uno
▶️ Watch on YouTube … My post this time is about the DC-DC boost converter, which is a converter from 7V to 12V using Arduino. Here I try to design from start to finish. The first step for this design was determining the proper specifications for my purposes. What I need is the following: Vin…
- Read more: Automatic Transfer Switch
▶️ Watch on YouTube … This post is about an Arduino nano SPWM generator with added automatic transfer switch function. Used to switch the operation of the Inverter to the Grid when the battery voltage drops to a certain level. And it is done synchronously, i.e. the transfer is done when the grid and inverter…
- Read more: Grid Synchronization
▶️ Watch on YouTube … This post is still continuing my project in Arduino Nano SPWM generator. I add some code and also Zero Crossing Detector circuitry for Grid Synchronization. The circuit is to detect the grid phase and the code is doing a task as Software Phase Loop Lock. Using Software Phase Locked Loop…
- Read more: Arduino Nano SPWM at 24V/48V
My Arduino Nano SPWM working voltage is 12V, we need to change the voltage divider network if we want to work with other voltages such as at 24V/48V. Voltage Divider Modification to 24V 48V My Arduino Nano SPWM Generator module detects 12V input from unregulated 12V coming from Battery, then display it on LCD. It…
- Read more: Short Circuit Protection
▶️ Watch on YouTube … Arduino Nano SPWM Generator Update This is an update to my previous post about the Arduino Nano SPWM generator by adding short circuit protection function. The method of Short Circuit detection is by checking the Voltage Feedback. When Short Circuit conditions occur the voltage detected will be very low, and…
- Read more: Arduino Nano SPWM generator w/ LCD 16×2
▶️ Watch on YouTube … Connecting the Arduino Nano SPWM generator to the LCD requires an additional connection on the PCB to the LCD. This additional connection is two wires for I2C communication and two more wires for the power source Added connection for Arduino Nano SPWM generator PCB I forgot to add an RC…

YopieDIY
Power Electronics & Embedded Systems Projects
Real-life projects I build in my spare time with affordable parts.
Full write-ups + YouTube videos for most project.
“Learn more about Yopiemaker’s mission”.
“Engineering Creativity Through Electronics” Welcome to Yopiemaker, a personal blog dedicated to the world of DIY electronics, IoT systems, and RF engineering. I am a professional RF/Microwave engineer sharing my passion for building, coding, and designing hardware.
What You’ll Find Here @ Yopiemaker Projects
In this blog, I document my journey in creating various tech projects. Whether you are a beginner looking for your first Arduino tutorial or an experienced maker searching for complex ESP32 IoT solutions, you will find something useful here. My goal is to provide high-quality, open-source resources for the community.
Featured Categories
- IoT & Wireless: Smart home systems and cloud-connected devices.
- Circuit Design: Professional PCB layouts and schematics.
- 3D Printing: Custom enclosures and mechanical parts for electronics.
Yopiemaker Projects: Support the Journey
Most project comes with downloadable resources. If you are looking for specific files, please visit myResources Center. Don’t forget to check out my latest posts below!